Hacking Bluetooth to Brew Coffee from GitHub Actions: Part 2 - Reverse Engineering
permalinkThis is part 2 of a three-part series covering the odyssey of getting a new coffeemaker, learning BTLE and how it works, reverse-engineering the Bluetooth interface and Android applications for the coffeemaker, writing a Rust-based CLI interface, and finally, hooking it all up to a GitHub actions bot that lets you brew a coffee just by filing an issue!
In part 1 we got our coffeemaker brewing using a sniffed command that we logged from the actual application, and then sent to the coffeemaker using a small Rust program. However, we don’t really understand the language we’re speaking yet, we’re just repeating the application-to-device babbling we’ve snooped.
Understanding the Packets
Now that we know that we can send a request, we want to understand what the format of the request looks like. The first thing we want to do is understand what a packet is. A packet is a chunk of data of a defined length, in contrast to a stream of data that continues indefinitely. Packets are used throughout most communication technologies and are a fundamental way of describing discrete communication messages.
When dealing with embedded devices, packets will almost always have a header, and sometimes a footer. The header and footer are called the framing of the packet, and they delimit it so we can identify exactly where it starts and stop.
Inside the header and footer might be things like start-of-packet, or end-of-packet markers, and a length for framing. There may also be additional metadata like a checksum to detect corruption.
Why is this framing important? Devices will often use framing to help recover from corruption. If you lose or corrupt a byte anywhere in the packet, you can often recover synchronization quickly by just restarting the packet parsing at the next byte that looks like a start byte.
Here’s a few packets we captured being sent from the coffeemaker to the application while asking it to brew a coffee, and then waiting for it to finish cleaning:
0d0575f0c4d5                             # Some sort of status request
0d1483f007010100410900be02030c001c0206dc # Brew a cappuccino
0d0883f00702062f41                       # Cancel brewing

d00783f0010064d9                         # Response to brew/stop request
d012750f02040100400700000000000000d621   # Status response
d012750f04050100400c030900000000001cf0   # Status response
d012750f000000000000036400000000009080   # Status response
What information can we glean from this? First of all, the first byte is always 0d or d0 (13 or 240 in decimal), suggesting this is a start-of-packet byte that varies depending on the direction of communication. That’s one byte probably identified!
+> 0d 0575f0c4d5
+> 0d 1483f007010100410900be02030c001c0206dc
+> 0d 0883f00702062f41
|
+> d0 0783f0010064d9
+> d0 12750f02040100400700000000000000d621
+> d0 12750f04050100400c030900000000001cf0
+> d0 12750f000000000000036400000000009080
|
+--------------------------------------- Start of packet (0x0d or 0xd0)
Next, the second byte of the packet seems to vary depending on the length of the packet, and it corresponds exactly with the change in packet size. This is highly likely to be a length, and from what we can see here in a couple of the packets we captured earlier, it would be the length of the packet not including the start-of-packet byte.
   v---5 bytes--v
0d 05 75 f0 c4 d5
   v------7 bytes-----v
d0 07 83 f0 01 00 64 d9
   v------------------18 bytes (0x12)------------------v
d0 12 75 0f 02 04 01 00 40 07 00 00 00 00 00 00 00 d6 21
^  ^
|  +------------------------------------------------------ Length of packet
+--------------------------------------------------------- Start of packet (0xd0)
We can’t glean much about the rest of the packet yet, but we’re getting some of the framing nailed down here. Time to pull out some more analysis tools.
There are three approaches we can use to understand the binary language of Delonghi’s ECAM machines:
- We can disassemble the firmware of the coffeemaker and understand what it expects and what it sends, or
- We can observe the application’s communication with the coffeemaker over a period of time, changing one or two things at a time and seeing what changes in the protocol, or
- We can disassemble the application that controls the coffeemaker and understand its inputs and outputs.
The firmware of the machine itself would be the ideal place for us to look, but according to some various coffeemaker-hacking forums, the controllers are PIC-based, and disassembling/dumping PIC firmware somewhat tricky.
In addition, a disadvantage to disassembling microcontroller firmware is that due to size constraints, it’s far less likely for text strings to have survived the compilation process to give us hints as to what’s going on. Finding leftover snippets of logging or “debug” print statements are gold for the reverse engineer, and we’d like to use that as a signpost to guide our future work.
Observing the application’s communication directly is definitely an option. This is inconvenient as we saw from the HCI snooping adventures earlier on, and we might not know how to perturb the system enough to fully understand most of the fields we receive.
The best option we’re left with is disassembling the application itself and looking for hints as to what it’s doing, hopefully for some symbols that give us names, or text strings that may give us context.
Disassembling the Delonghi APK
We’re going to disassemble the Delonghi APK to learn more about how we can automate our caffeine fix.
Android applications are shipped in APK (Android Package Kit) format, and we’re going to download a few historical versions of the APK from APK Pure, a site that archives older versions of shipped applications. Getting a few different versions is a good idea, as developers will sometimes forget to enable obfuscation in some versions. If we’re lucky enough to get a version of the application without obfuscation, we can get the internal names for constants and fields.
In the past, APK decompilation was somewhat tricky. As Android is Java-based, but doesn’t use Java’s bytecode directly, either you’d need to learn how to understand smali, or you’d use dex2jar to convert the app to a faux-Java JAR file and use standard Java analysis tools to reverse engineer it. Jadx is a new Java analysis tool, which is far easier to use and much more powerful than the older tools.
Let’s open the APK in Jadx. Once it has decompiled that app, the first thing we’ll notice is that there are package names here. This is great news and suggests that even if the application is obfuscated, it’s not obfuscated fully and we’ll be able to learn how it ticks.
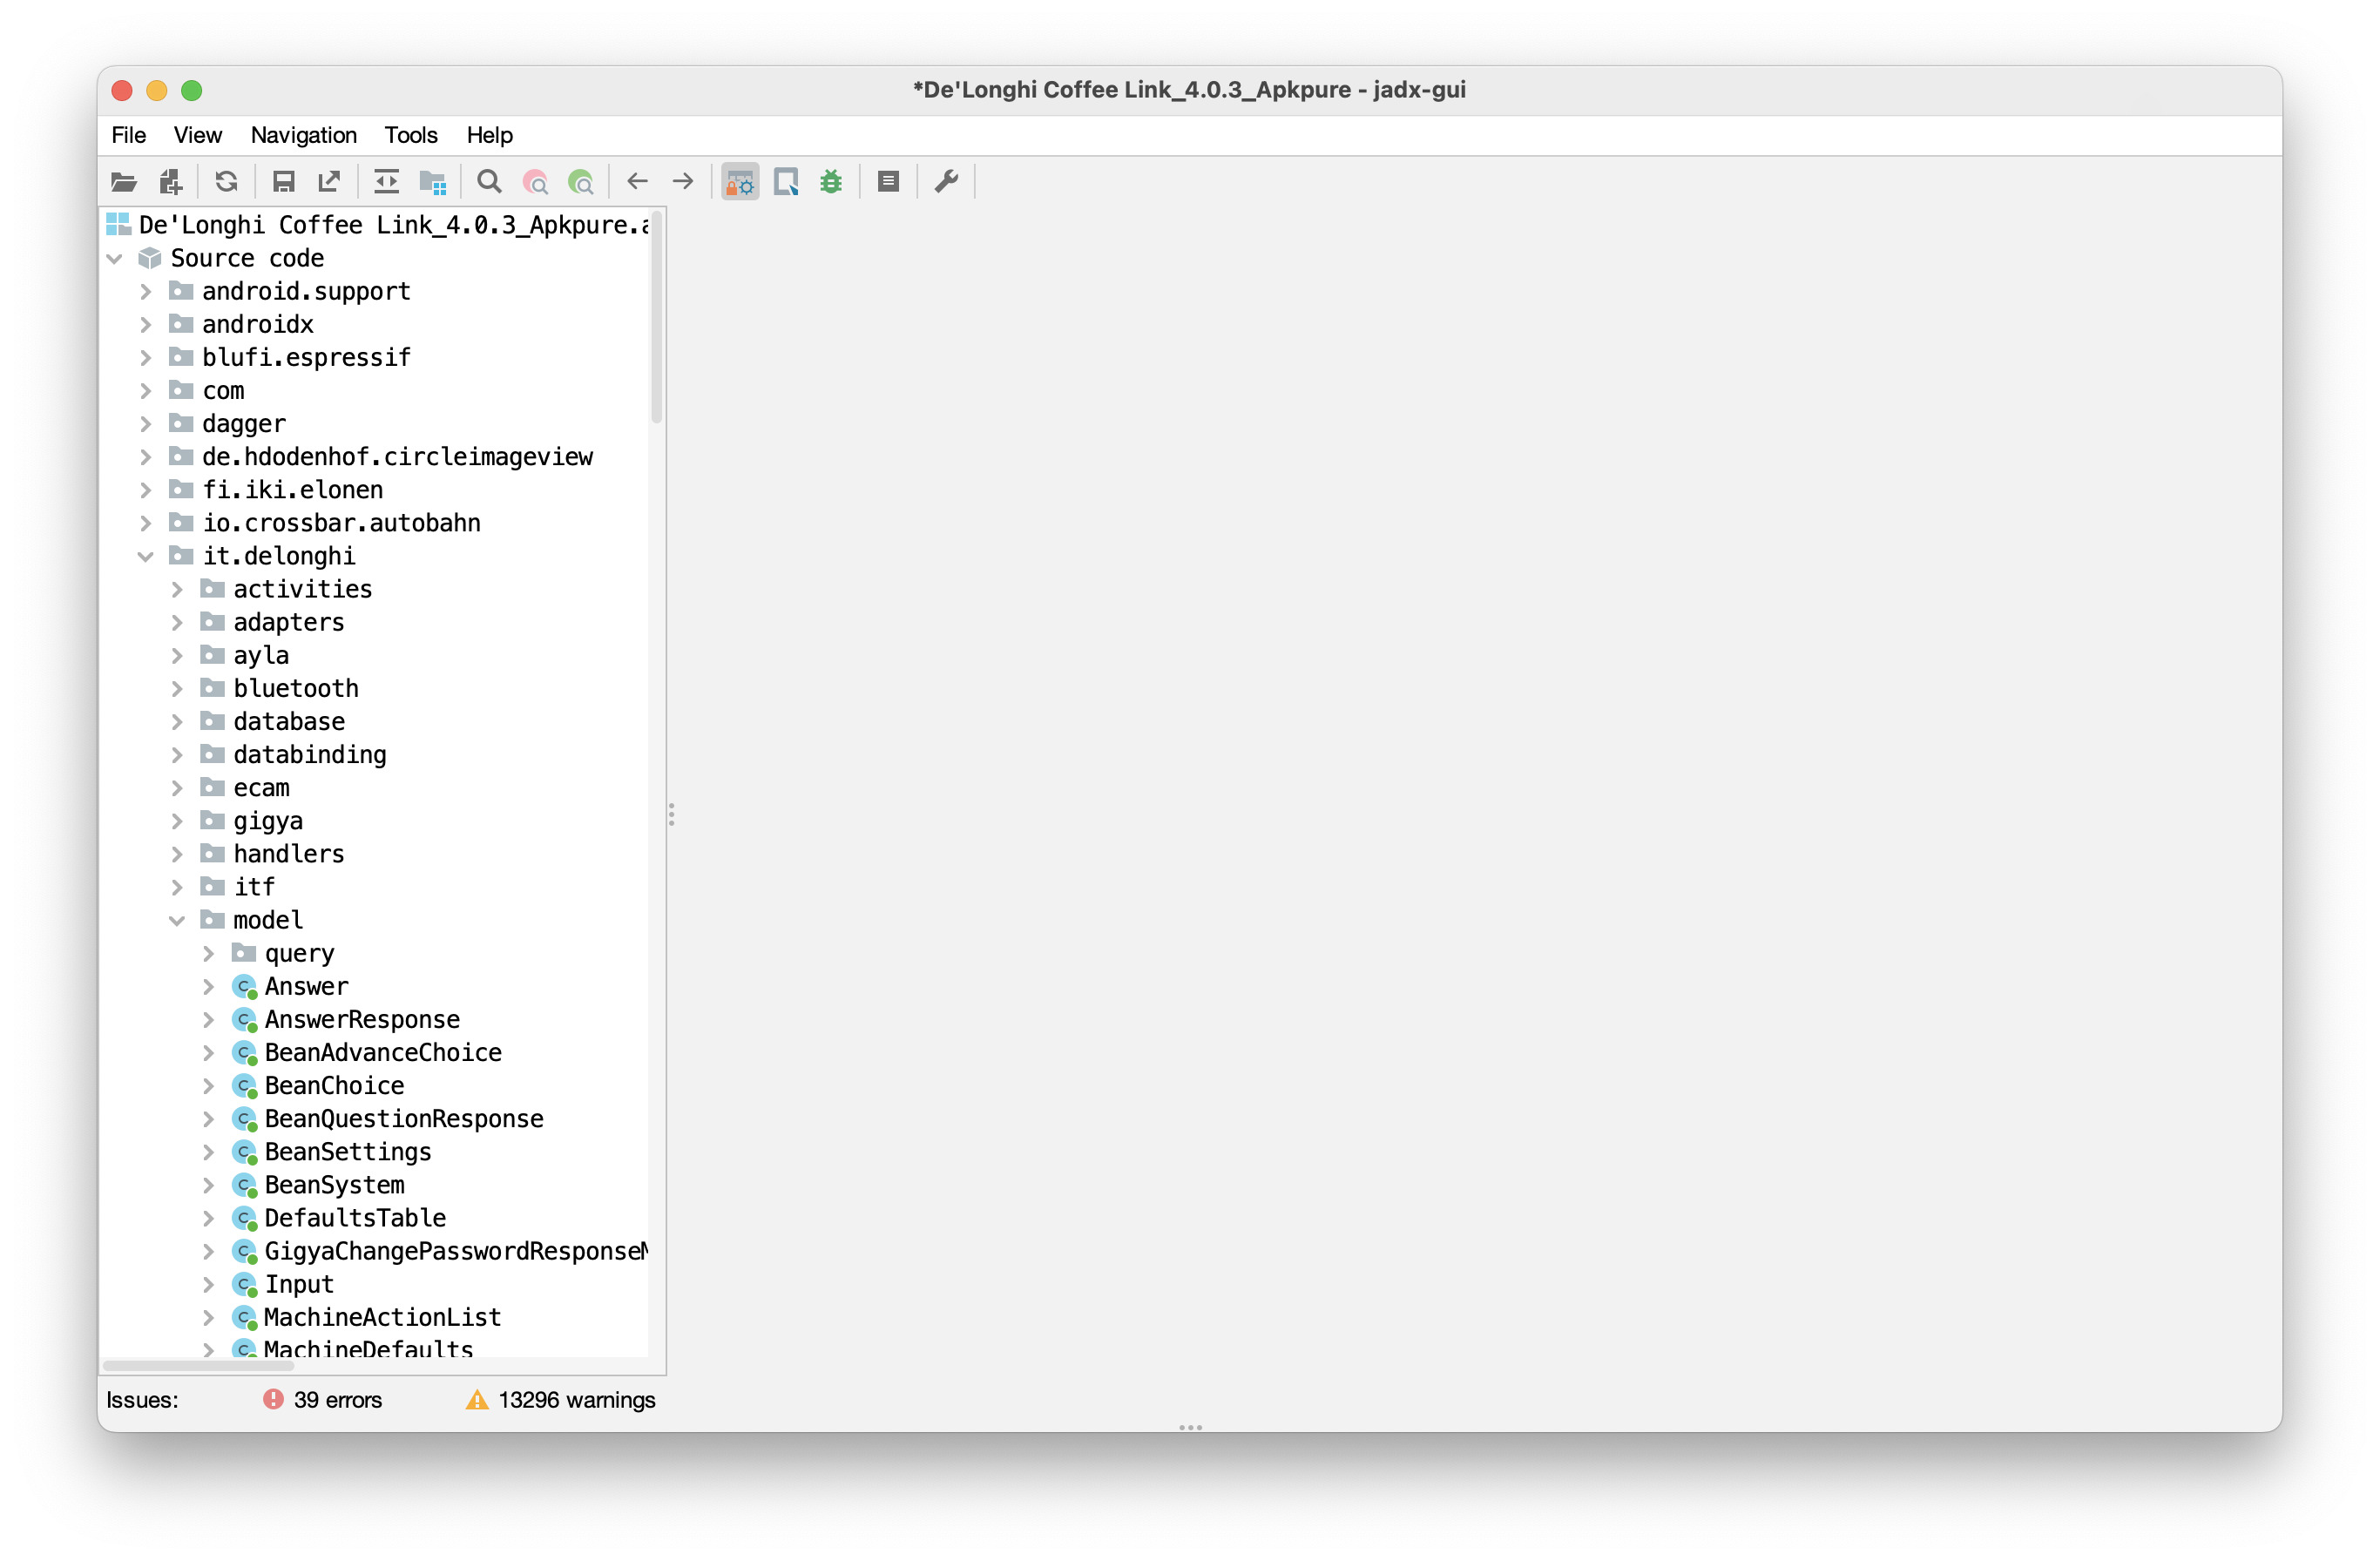
When we dig into some of the classes, we see method and field names, showing us a pretty clear representation of the original source code. Even better news!
After decompiling, our first goal should be to conclusively identify the framing of the packets and answer the questions we raised earlier on. With some reading through the source, we can identify the source of one of the packets we saw being sent to the machine…
0d 05 75 f0 c4 d5
… as coming from here:
public static byte[] getByteMonitorMode(int i) {
    String str = TAG;
    DLog.m188e(str, "getByteMonitorMode  dataN" + i);
    byte[] bArr = new byte[6];
    bArr[0] = 0xd;                            // ** 0d
    bArr[1] = 5;                              // ** 05
    if (i == 0) {
        bArr[2] = DATA_0_ANSWER_ID;
    } else if (i == 1) {
        bArr[2] = DATA_1_ANSWER_ID;
    } else if (i == 2) {
        bArr[2] = 117;                        // ** 75
    }
    bArr[3] = 0xf0;                           // ** f0
    int checksum = checksum(bArr);
    bArr[4] = (byte) ((checksum >> 8) & 255); // ** c4
    bArr[5] = (byte) (checksum & 255);        // ** d5
    return bArr;
}
We can see the canonical source for every byte in that packet above in this function. 0d is the start_of_packet header. 05 is the length, and it looks like it’s just hardcoded here since the packet is always the same length. We can also see that the last few digits are a checksum, and if we dig into the checksum function, how it is calculated:
public static int checksum(byte[] bArr) {
    int i = 7439;
    for (int i2 = 0; i2 < bArr.length - 2; i2++) {
        int i3 = (((i << 8) | (i >>> 8)) & 65535) ^ (bArr[i2] & 255);
        int i4 = i3 ^ ((i3 & 255) >> 4);
        int i5 = i4 ^ ((i4 << 12) & 65535);
        i = i5 ^ (((i5 & 255) << 5) & 65535);
    }
    return i & 65535;
}
Great! checksum looks like it could be one of the CRC family of functions, but we don’t necessarily have to fully understand it yet if we have its implementation. We now have all the framing necessary to construct any packet:
d0 LE (data) C1 C2
^  ^         ^--^-- Our checksum bytes
+  +--------------- Length of packet, minus start-of-packet
+------------------ Start of packet (0xd0 or 0x0d depending on direction)
Now we can start to guess at the meaning of the rest of the bytes. Byte 2 appears to be a command ID. Byte 3 is a constant, and scanning the rest of the file suggests that it’s always 0x0f or 0xf0, depending on the command. That leaves the remainder of the packet for the command payload, if it’s used for the command.
0d 05 75 f0 c4 d5
^  ^  ^  ^  ^--^-- Our checksum
|  |  |  +-------- Always 0xf0 or 0x0f
|  |  +----------- The command ID (0x75 = monitor mode 2)
|  +-------------- The packet length
+----------------- Start of packet (0x0d)
Since we have a single spot for calculating the packet checksum, and we know that every request requires a checksum to be calculated, we can figure out all the places in the app that create request packets to get a better idea of what we can ask the machine to do by looking for the callers of checksum:

This is very interesting! There’s a lot of commands here, and each of them has a reasonably-well-defined name that we can use to understand what its function might be. We’ll have to start working through them one-by-one. With a bit of work, we can assemble a table of these commands:
enum EcamRequestId {
    SetBtMode = 17,
    MonitorV0 = 96,
    MonitorV1 = 112,
    MonitorV2 = 117,
    BeverageDispensingMode = 131,
    AppControl = 132,
    ParameterRead = 149,
    ParameterWrite = 144,
    ParameterReadExt = 161,
    StatisticsRead = 162,
    Checksum = 163,
    ProfileNameRead = 164,
    ProfileNameWrite = 165,
    RecipeQuantityRead = 166,
    RecipePriorityRead = 168,
    ProfileSelection = 169,
    RecipeNameRead = 170,
    RecipeNameWrite = 171,
    SetFavoriteBeverages = 173,
    RecipeMinMaxSync = 176,
    PinSet = 177,
    BeanSystemSelect = 185,
    BeanSystemRead = 186,
    BeanSystemWrite = 187,
    PinRead = 210,
    SetTime = 226,
}
Some of these request IDs are guesses based on the surrounding code context, and some of them are defined in enumerations in the application source. It’s a pretty good start for us to get going on figuring out how to brew our own beverage from scratch.
Revisiting the brew command
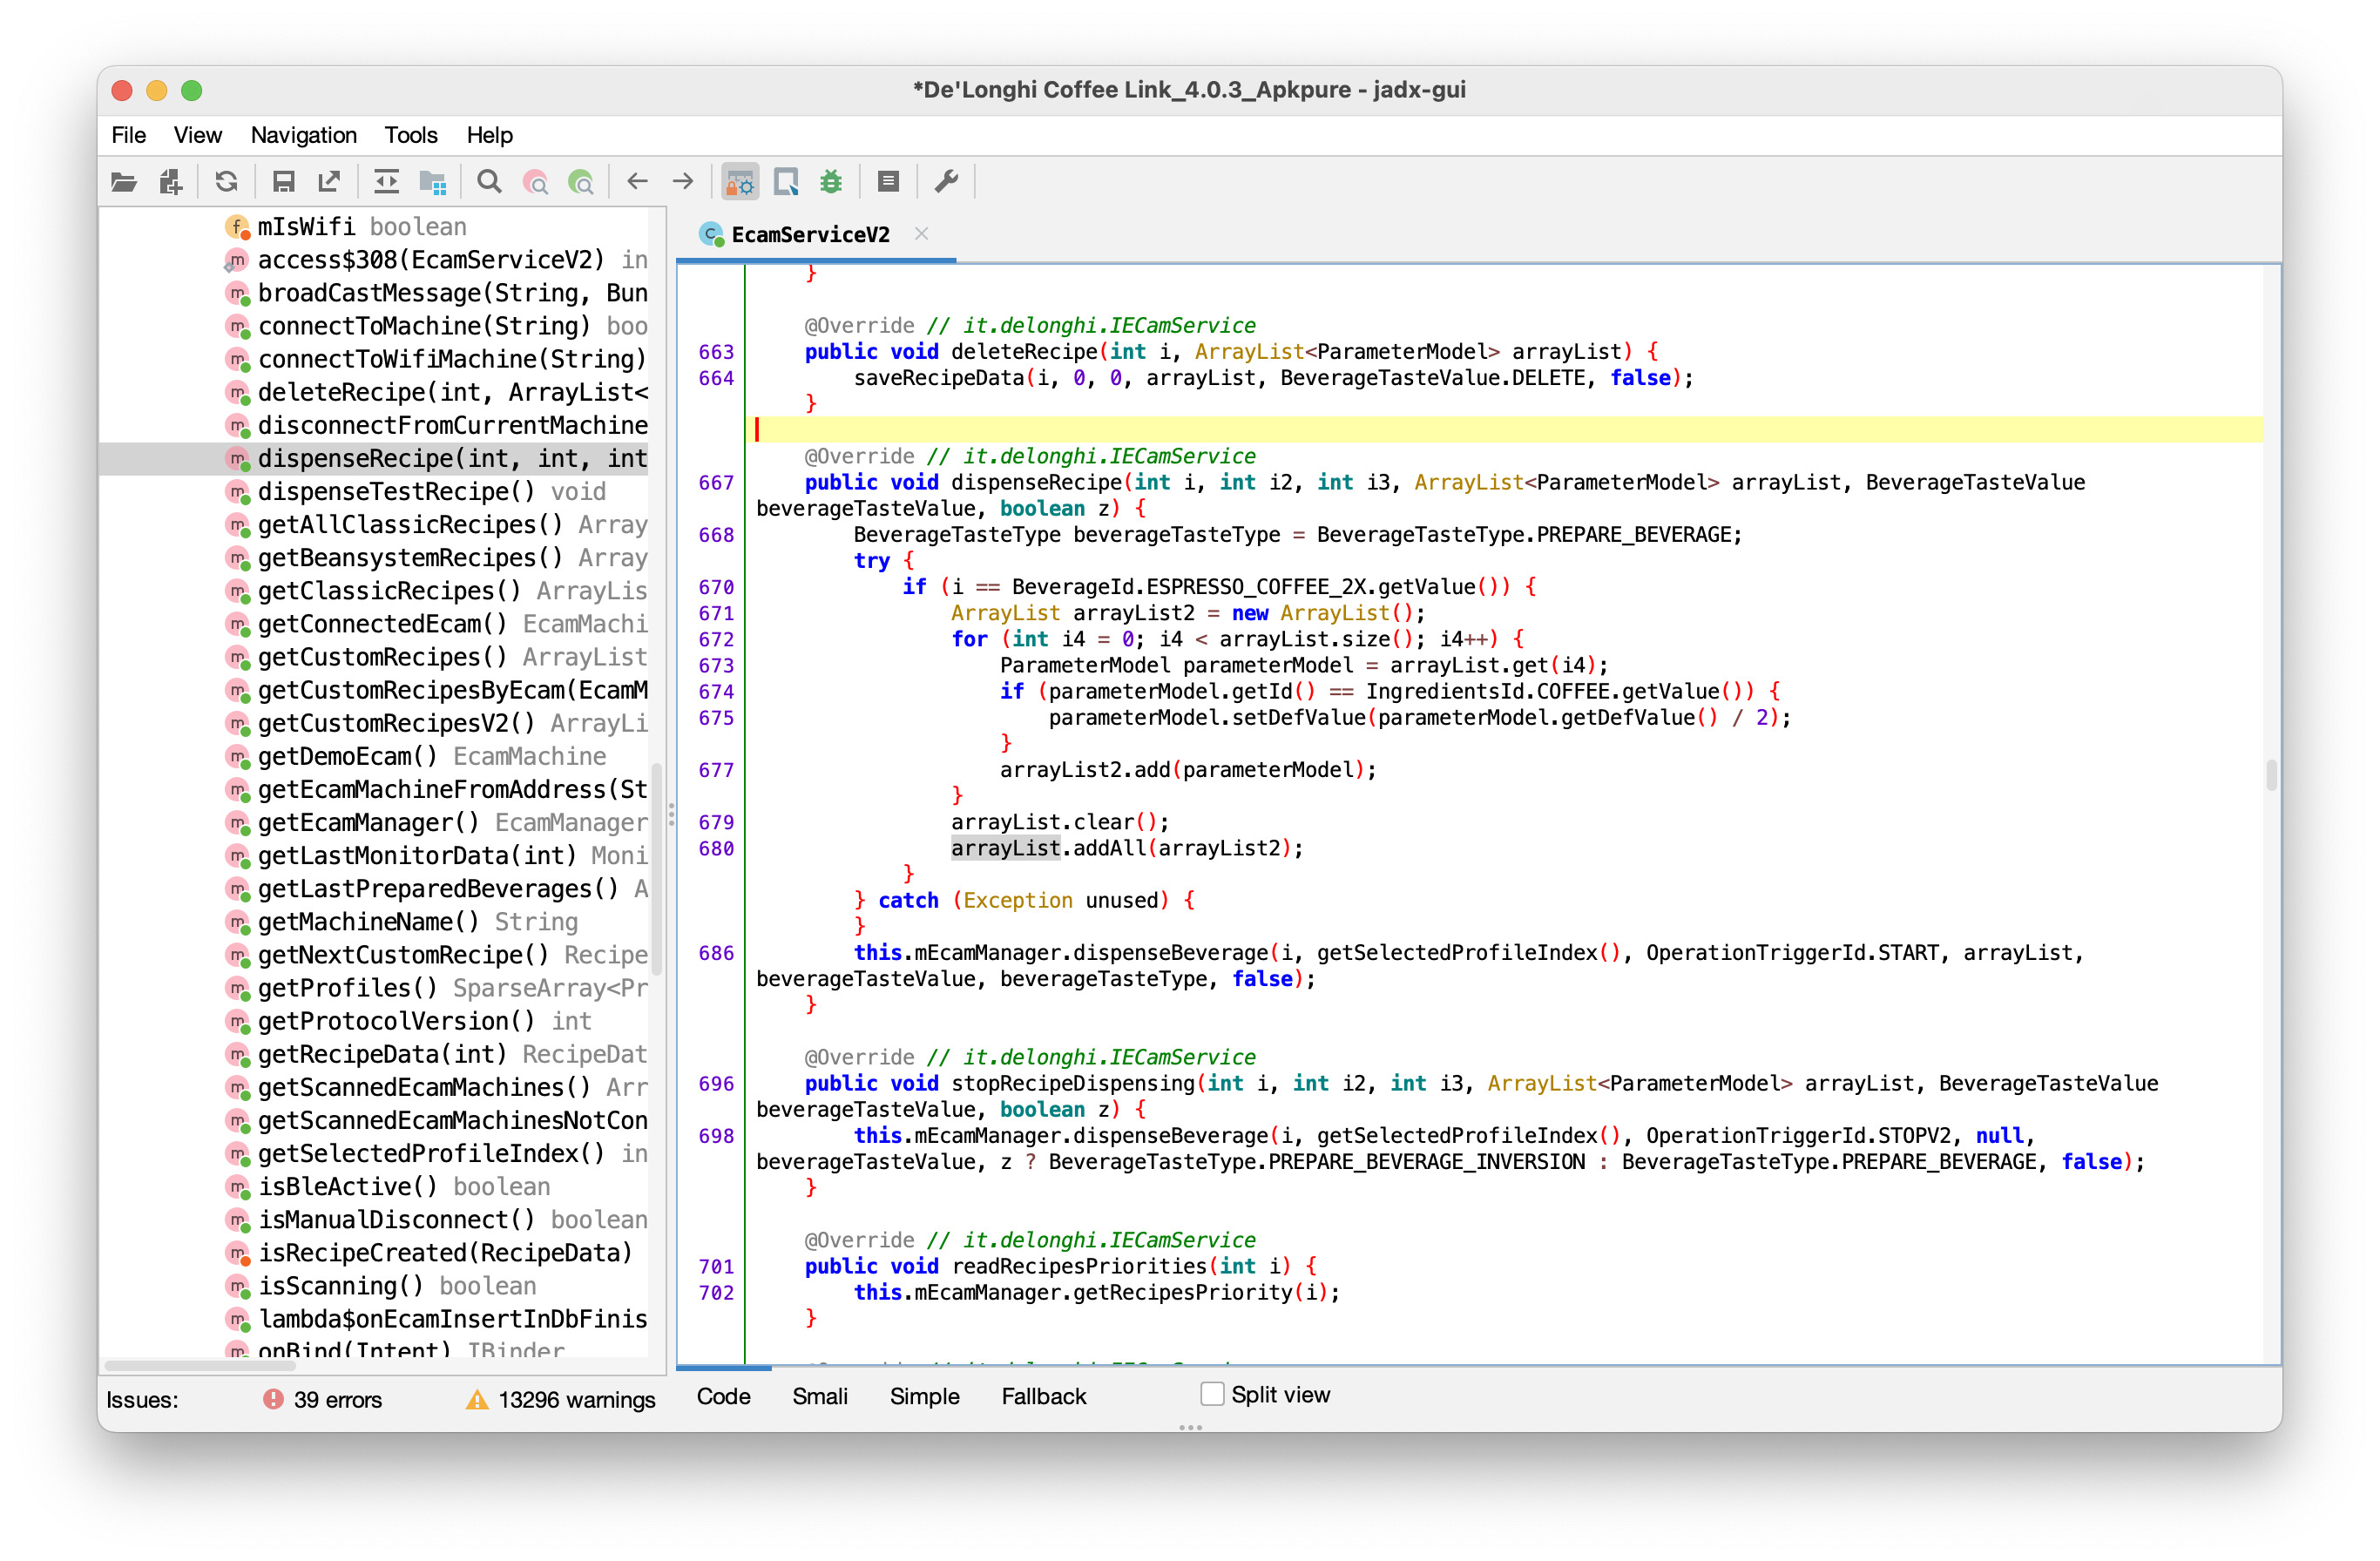
From just the bytes sent across the connection it’s difficult to understand exactly how the application is creating the packet to brew a coffee. However, in the disassembly we find a function dispenseBeveragePacket that appears to construct the packet we saw before:
if (arrayList != null) {
    Iterator<ParameterModel> it3 = arrayList.iterator();
    loop1: while (true) {
        i4 = 0;
        while (it3.hasNext()) {
            next = it3.next();
            if (next.getId() < 23 || next.getId() == 28) {
                if (bool.booleanValue() || i != 200 || next.getId() != 2) {
                    i6 = i6 + 2 + i4;
                    bArr[i6 + 6] = (byte) next.getId();
                    if (Utils.isTwoBytesShort(next.getId())) {
                        bArr[i6 + 7] = (byte) (next.getDefValue() >> 8);
                        bArr[i6 + 8] = (byte) next.getDefValue();
                        i4 = 1;
                    }
                }
            }
        }
        bArr[i6 + 7] = (byte) next.getDefValue();
    }
    i5 = i4;
}
If we clean it up a bit to some Java pseudocode, it looks like this:
int index = 6;
for (ParameterModel param in params) {
    if (param.getId() < CLEAN_TYPE || param.getId() == ACCESSORIO) {
        array[index++] = param.getId();
        if (Utils.isTwoBytesShort(param.getId())) {
            array[index++] = param.getDefValue() >> 8;   // upper 8 bytes
            array[index++] = param.getDefValue() & 0xff; //
        } else {
            array[index++] = param.getDefValue() & 0xff;
        }
    }
}
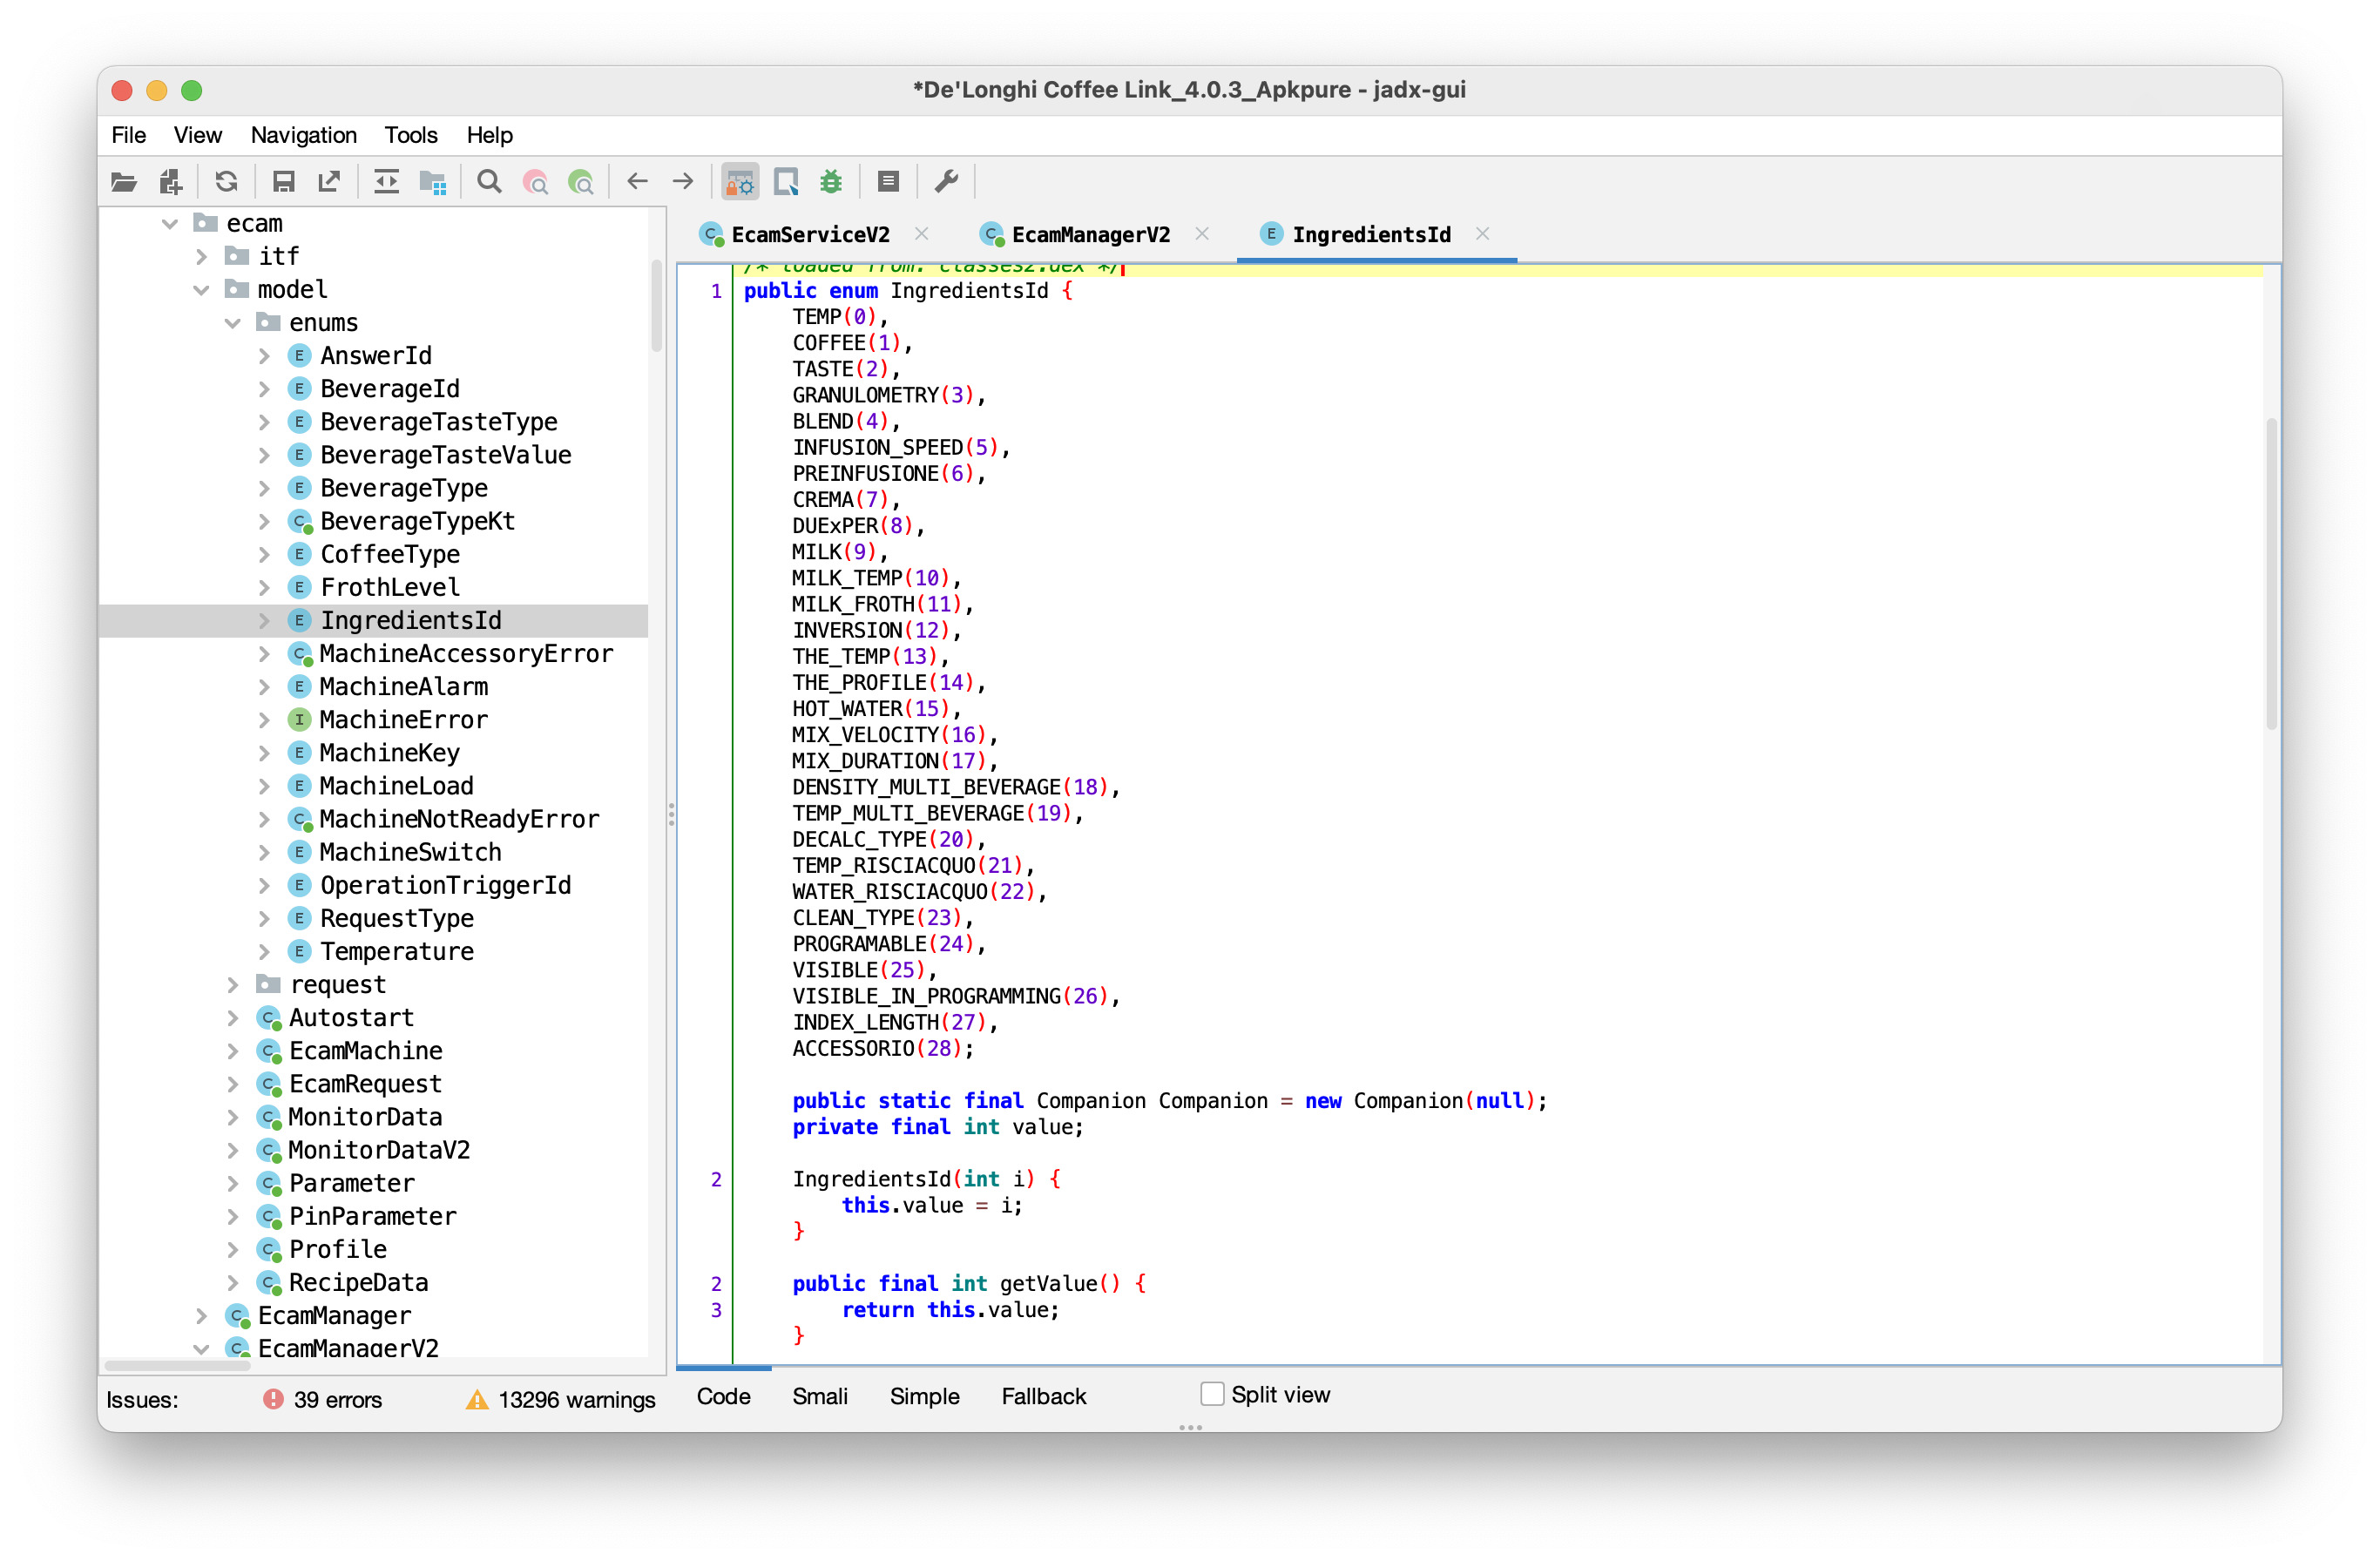
So, from this pseudocode we see that a beverage is constructed from a list of ingredients (which with some further investigation, we find in the disassembled source as IngredientsId below), and an associated one or two byte value (param.getDefValue() above). Digging through the source for which ingredients are one or two bytes doesn’t yield much fruit, but maybe we can understand what’s going on by investigating further.
Where do we go next? We find that there are two commands that, based on their name, seem to be related to the application UI used for brewing: RecipeQuantityRead and RecipeMinMaxSync.
Let’s try sending these commands to the machine! To do this, it’s time to re-visit our Rust code.
First, let’s create a function that will add the packet framing (header, length and checksum) to any payload we want to send:
pub fn checksum(buffer: &[u8]) -> [u8; 2] {
    let mut i: u16 = 7439;
    for x in buffer {
        let i3 = ((i << 8) | (i >> 8)) ^ (*x as u16);
        let i4 = i3 ^ ((i3 & 255) >> 4);
        let i5 = i4 ^ (i4 << 12);
        i = i5 ^ ((i5 & 255) << 5);
    }

    [(i >> 8) as u8, (i & 0xff) as u8]
}

fn packetize(buffer: &[u8]) -> Vec<u8> {
    let mut out = [&[
        0x0d,
        (buffer.len() + 3).try_into().expect("Packet too large"),
    ], buffer].concat();
    out.extend_from_slice(&checksum(&out));
    out
}

async fn run_with_peripheral(peripheral: Peripheral, characteristic: Characteristic) -> Result<(), Box<dyn std::error::Error>> {
    let data = packetize(/* data */);
    peripheral.write(&characteristic, data, WriteType::WithoutResponse);
    Ok(())
}
Now we can start sending some example packets and exploring the responses. Here’s two test packet’s we’ll send (in pseudo-code and byte form):
Packet                             Bytes
RecipeInfo(profile=1, beverage=7)  0d 07 a6f0 01 07 75c2
RecipeMinMaxInfo(beverage=7)       0d 06 b0f0 07 6af4
Let’s look at what comes back, in raw byte form (some spaces added to help the reader visualize the packet):
RecipeInfo(profile=1, beverage=7):
d0 17 a6f0 01 07
↳ 0100410900be02030c001b0419011c02
↳ a2cd

RecipeMinMaxInfo(beverage=7):
d0 2c b0f0 07
↳ 010014004100b409003c00be038402000305
↳ 18010101190101010c0000001c000200
↳ 1b000404
↳ d03c
The first part of the response packets appear to be the machine echoing back the input. This makes sense, as the application will need a way to match up responses to requests.
For the remainder of the packet, we have the advantage of the decompilation above. We know the list of ingredients from the IngredientsId enumeration in the decompiled source, and if we match up the type of beverages with the ingredients, it makes a lot of sense that it’s what we’re seeing here:
RecipeInfo response:

01·0041•09·00be•02·03•0c·00•1b·04•19·01•1c·02
---+--- ---+--- --+-- --+-- --+-- --+-- --+--
   |       |      |     |     |     |     ╰---- Accessorio=2
   |       |      |     |     |     |
   |       |      |     |     |     ╰---------- Visible=1
   |       |      |     |     |
   |       |      |     |     ╰---------------- IndexLength=4
   |       |      |     |
   |       |      |     ╰---------------------- Inversion=0
   |       |      |
   |       |      ╰---------------------------- Taste=3
   |       |
   |       ╰----------------------------------- Milk=190
   |
   ╰------------------------------------------- Coffee=65

RecipeMinMaxInfo response:

01·0014·0041·00b4•09·003c·00be·0384•02·00·03·05•
--------+-------- --------+-------- -----+-----
        |                 |              ╰------- Taste: 0<=3<=5
        |                 |
        |                 ╰---------------------- Milk: 60<=190<=900
        |
        ╰---------------------------------------- Coffee: 20<=65<=180
> 18·01·01·01•19·01·01·01•0c·00·00·00•1c·00·02·00•
  -----+----- -----+----- -----+----- -----+-----
       |           |           |           ╰------- Accessorio: 0<=2<=0
       |           |           |
       |           |           ╰------------------- Inversion: 0<=0<=0
       |           |
       |           ╰------------------------------- Visible: 1<=1<=1
       |
       ╰------------------------------------------- Programmable: 1<=1<=1
> 1b·00·04·04
  -----+-----
       ╰------- IndexLength: 0<=4<=4
From reading the application source, these packets seem to represent the current settings for the beverage, and the minimum and maximum ranges for each of the parameters. We can also start to guess at what the lengths of each of the ingredients’ parameter values are: most are a single byte, but a handful seem to be reliably two bytes wide and they all seem to deal with liquids.
Let’s confirm our intuition here by looking at the recipes for a latte and hot water:
Latte recipe:

01·003c•09·01f4•02·03•0c·00•1b·04•19·01•1c·02
---+--- ---+--- --+-- --+-- --+-- --+-- --+--
   |       |      |     |     |     |     ╰---- Accessorio=2
   |       |      |     |     |     |
   |       |      |     |     |     ╰---------- Visible=1
   |       |      |     |     |
   |       |      |     |     ╰---------------- IndexLength=4
   |       |      |     |
   |       |      |     ╰---------------------- Inversion=0
   |       |      |
   |       |      ╰---------------------------- Taste=3
   |       |
   |       ╰----------------------------------- Milk=500
   |
   ╰------------------------------------------- Coffee=60

Hot water recipe:

0f·00fa•19·01•1c·01
---+--- --+-- --+--
   |      |     ╰---- Accessorio=1
   |      |
   |      ╰---------- Visible=1
   |
   ╰----------------- HotWater=250
We can see that the pattern continues here: liquid amounts are two bytes long, while everything else is a single byte.
If you’re curious about every recipe this machine can make, a gist is available with a dump of the recipes.
We can now put all the pieces together and build our own brewing command with a recipe that we’re going to write from scratch: a large cappuccino!
83 f0 07 01 01 00 78 09 01 77 02 04 02
^  ^  ^  ^  ^  ^  ^  ^  ^  ^  ^  ^  ^- Preparation mode = PREPARE
|  |  |  |  |  |  |  |  |  |  +--+---- Taste (02) = strong (value 4)
|  |  |  |  |  |  |  +--+--+---------- Milk (09) = 375
|  |  |  |  +--+--+------------------- Coffee (01) = 120
|  |  |  +---------------------------- Trigger=START
|  |  +------------------------------- Beverage=Cappuccino (value 7)
|  +---------------------------------- Always 0xf0
+------------------------------------- Beverage dispense request
Let’s send that to the machine and see what happens:
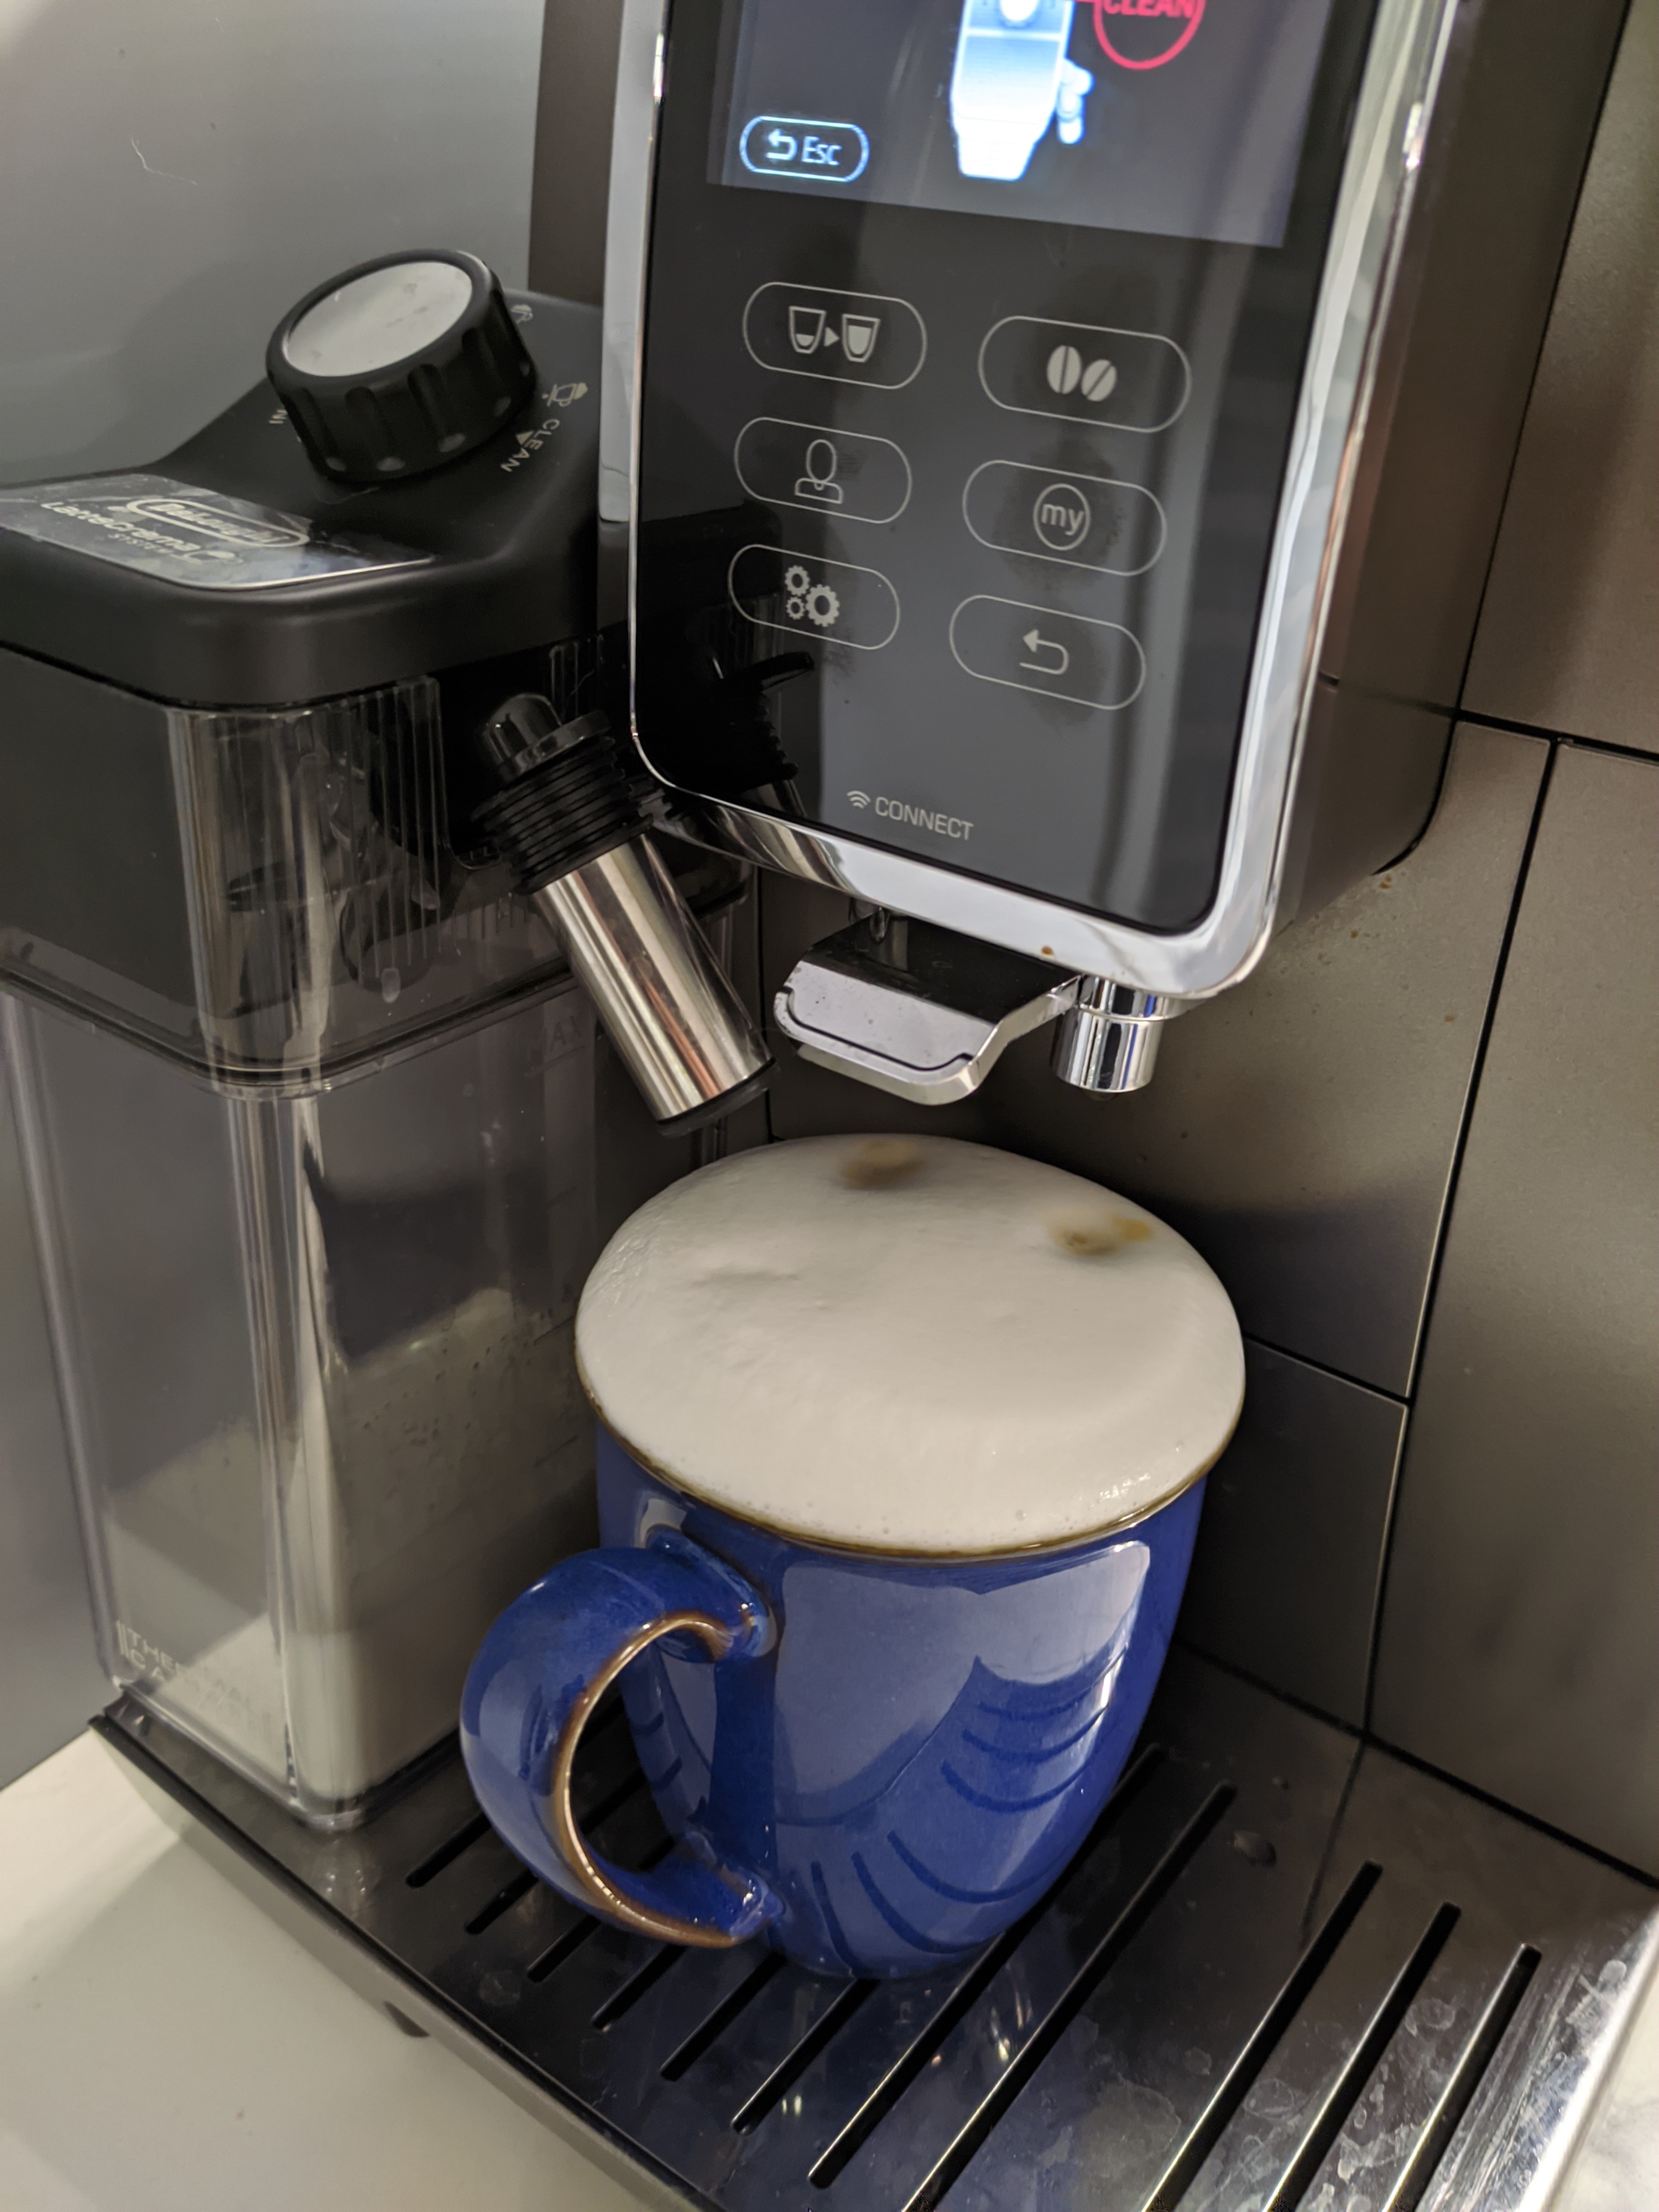
Success! We have the most complicated and important part of communication with a coffeemaker working: brewing the coffee.
There’s a bit of work required to turn this into a full application, but you can find that pre-written in my longshot project on GitHub. You don’t need to have this coffeemaker, as it includes a simulator mode that will allow you to brew a virtual coffee and test out the packet parsing and generation code.
Continue reading… In part three of the series we’ll hook this up to GitHub Actions so that we can automate coffee brewing from the browser!
Further reading for this post
- Dump of all recipes available on the Delonghi Dinamica Plus
- Extracting Firmware from Microcontrollers’ Onboard Flash Memory, Part 3: Microchip PIC Microcontrollers
- Android reverse engineering for beginners - Decompiling and patching
- What techniques are used in reverse engineering a serial protocol?
Follow me on Mastadon for more updates on this adventure!